

You’ve tried to unwind at home, but your mind still races. The problem isn’t your willpower. It’s your environment. Most relaxation attempts fail because spaces lack the right setup for true stress relief. This guide gives you a proven step-by-step plan to build a personalized relaxation zone that measurably reduces stress by 25% within two weeks. You’ll learn location selection, furniture choices, sensory design, personalization tactics, common pitfalls, and realistic timelines for results.
Table of Contents
- Prerequisites And Preparation
- Step 1: Choosing The Right Location
- Step 2: Selecting Furniture And Layout
- Step 3: Designing The Sensory Environment
- Step 4: Personalization And Final Touches
- Common Mistakes And How To Fix Them
- Expected Results And Measurement
- Explore Lunix Wellness Products To Enhance Your Relaxation Zone
- Frequently Asked Questions
Key Takeaways
| Point | Details |
|---|---|
| Space Requirements | Private 50+ sq ft area with ergonomic furniture and balanced sensory inputs cuts stress effectively. |
| Sensory Design Impact | Natural light, nature sounds, and lavender scents reduce stress by up to 25% when combined properly. |
| Common Mistakes | Poor lighting and sensory overload undermine 35% of home relaxation efforts. |
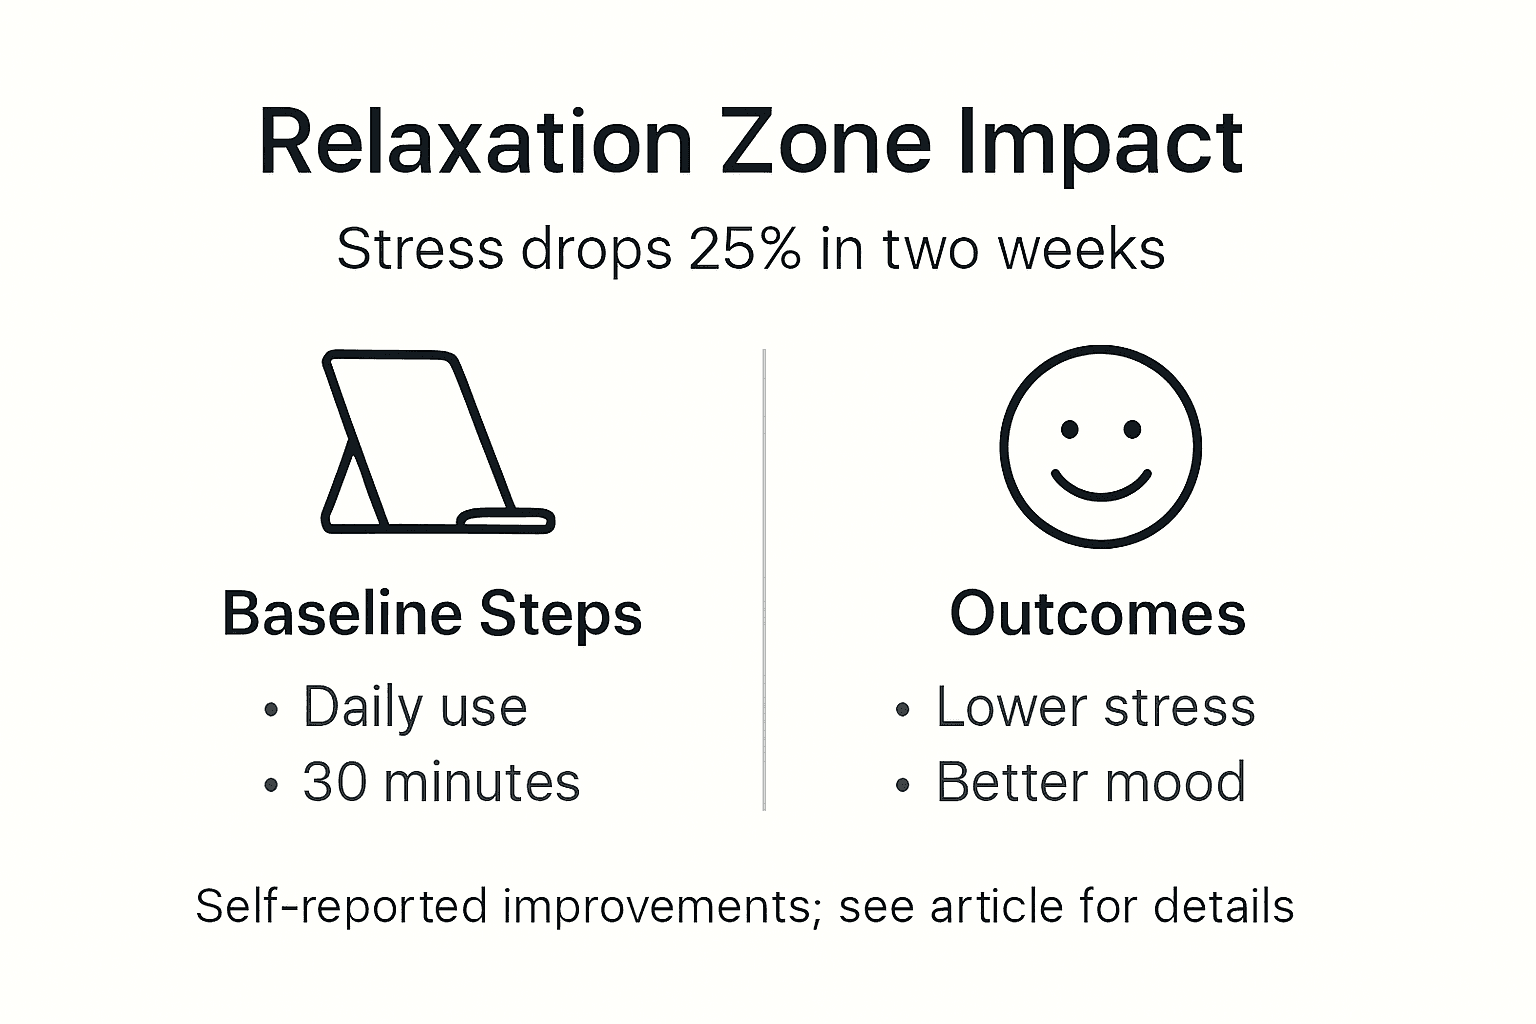
| Timeline for Results | Consistent 30-minute daily use leads to measurable stress reduction in about 2 weeks. |
| Personalization Benefit | Custom touches enhance emotional comfort and encourage regular zone use. |
Prerequisites and Preparation
Before you select a location, gather the essentials that make your relaxation zone functional and safe. Without proper prep, you’ll waste time and money on fixes later.
You need at least 50 square feet for effective privacy and stress disconnection. This size allows comfortable movement and reduces the feeling of being cramped, which triggers stress instead of relieving it.
Ergonomic furniture is non-negotiable. Recliners or supportive chairs designed for extended sitting prevent muscle tension that ruins relaxation. Pair furniture with good ventilation and natural or adjustable warm lighting to improve air quality and mood.
Prepare your sensory toolkit:
- Sound system capable of playing nature sounds or white noise
- Aromatherapy supplies like lavender essential oil or diffusers
- Adjustable lighting fixtures for warm tones
- Indoor plants or natural décor elements
Electrical safety matters. Use only approved devices and extension cords. Check that outlets can handle your equipment load. Faulty wiring or overloaded circuits create hazards that defeat the purpose of a calming space.
Pro Tip: Test all sensory equipment before final setup to avoid mid-session technical failures that spike stress.
Review common mistakes on lighting and furniture to avoid early pitfalls. Consider reading at-home comfort tips for additional preparation insights.
Step 1: Choosing the Right Location
Your space selection determines 50% of your relaxation success. Pick wrong, and you’ll fight distractions constantly.
Choose a quiet, private area disconnected from daily stressors like work desks or high-traffic hallways. Mental separation is key. Your brain needs to associate this zone with rest, not responsibilities.
Ensure the space has natural light exposure, which directly improves mood and lowers stress hormones. If natural light is limited, install warm artificial lighting with dimmer controls. Cold, harsh lighting increases cortisol and defeats relaxation.
Maintain that minimum 50 sq ft footprint. Smaller spaces feel confining and trigger anxiety rather than calm. Measure before committing to a location.
Consider noise levels:
- Avoid rooms next to noisy appliances or street-facing windows
- Use sound masking like white noise machines if complete silence isn’t possible
- Test the space at different times of day to identify peak noise periods
Accessibility matters for consistent use. Locate your zone near favorite living areas so you actually use it daily. A basement corner you never visit won’t help.
Explore home spa location tips for advanced placement strategies. Review our personalized relaxation guide to align location with your stress patterns.
Step 2: Selecting Furniture and Layout
Furniture choices directly impact how long you can relax before discomfort kicks in. Poor seating cuts sessions short and reduces benefits.
Ergonomic seating increases relaxation duration by up to 40% by reducing muscle tension. Select adjustable recliners or chairs with lumbar support designed for extended sitting. Avoid standard dining chairs or hard benches.
Arrange furniture to minimize visual clutter. Clear sight lines and open floor space promote calm. Your eyes should land on intentional décor, not piles of stuff.
Leave approximately 3 feet of clearance around furniture for comfortable movement. Cramped layouts trigger stress responses and make the zone feel oppressive.
| Furniture Type | Pros | Cons |
|---|---|---|
| Ergonomic Recliner | Adjustable support, extended comfort, reduces back pain | Higher cost, requires more floor space |
| Zero-Gravity Chair | Optimal weight distribution, minimal pressure points | Limited adjustability, specific aesthetic |
| Standard Armchair | Lower cost, familiar design | Poor lumbar support, discomfort after 20 minutes |
| Floor Cushions | Flexible placement, low cost | No back support, unsuitable for longer sessions |
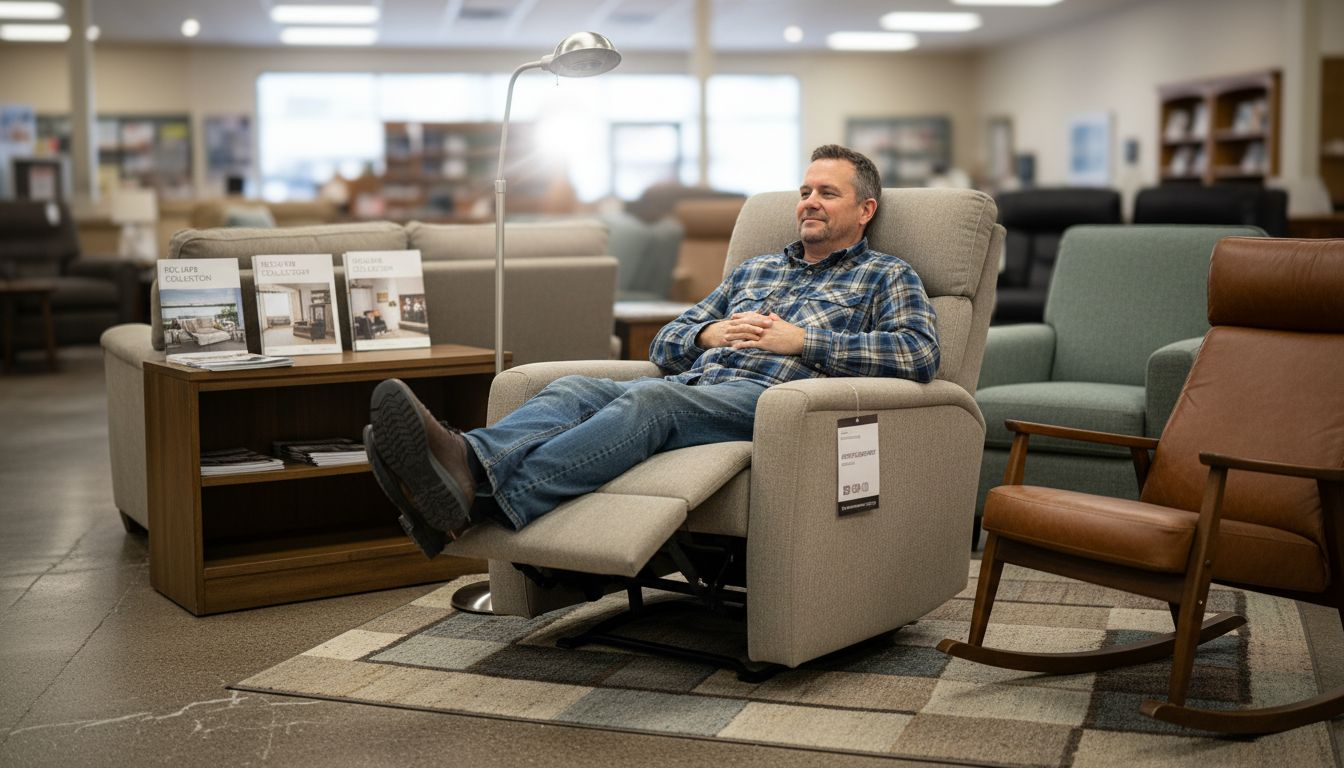
Pro Tip: Test furniture for at least 30 minutes in-store before buying to match your body’s needs.
Spatial layout principles matter. Position seating to face calming views, not walls or clutter. Use area rugs to define the zone boundary and add acoustic dampening.
Learn more about comfort tips for furniture selection. Explore our massage relaxation guide for complementary furniture ideas.
Step 3: Designing the Sensory Environment
Sensory design separates mediocre relaxation zones from transformative ones. Balance is everything. Too little stimulation feels sterile. Too much overwhelms and spikes stress.
Use natural light when possible. 30 minutes daily exposure reduces cortisol by up to 20%. If natural light is scarce, choose warm, adjustable artificial lighting with color temperatures between 2700K and 3000K. Avoid blue-toned LEDs that signal alertness.
Incorporate ambient soundscapes carefully. Nature sounds decrease stress markers by 15-25% over 30 minutes. Options include:
- Flowing water recordings
- Forest ambiance with birdsong
- Gentle rain or ocean waves
- Soft white or pink noise
Volume matters. Keep audio at conversational levels, never louder. Harsh or sudden sounds break relaxation states instantly.
Calming scents amplify mood shifts. Lavender aromatherapy reduces anxiety by 20% when used moderately. Diffuse essential oils for 15-20 minutes before sessions, then turn off. Continuous strong scents cause sensory fatigue and headaches.
Balanced sensory design is essential; excess inputs may overwhelm and counter relaxation.
Pro Tip: Time your sensory elements in sequence. Start with lighting adjustment, add sound after 5 minutes, then introduce scent once you’re settled.
Avoid layering too many sensory elements simultaneously. Visual, auditory, and olfactory inputs compete for attention. Choose one primary focus per session and keep others subtle.
Discover home spa wellness concepts for advanced sensory strategies. Review research on natural light benefits, nature sounds benefits, and lavender aromatherapy research for deeper understanding.
Step 4: Personalization and Final Touches
Generic relaxation spaces feel like waiting rooms. Personal touches transform zones into sanctuaries you actually want to use daily.
Include items that spark positive emotions:
- Favorite books or magazines for light reading
- Artwork or photos that calm rather than stimulate
- Indoor plants that improve air quality and add natural elements
- Soft textures like blankets or pillows in preferred fabrics
These elements create emotional anchoring. Your brain associates the space with comfort and safety, making relaxation easier to achieve.
Technology can enhance experiences if used thoughtfully. Biofeedback devices track heart rate variability and provide objective stress measurements. Smart lighting systems adjust color temperature automatically based on time of day. Keep maintenance requirements in mind. Complex tech that breaks or needs constant updates adds stress.
Customize sensory choices based on ongoing feedback. If lavender irritates you, try chamomile or vanilla. If nature sounds feel boring, experiment with instrumental music at low volumes. Your preferences guide effectiveness.
Regularly update décor and items every few months. Stale environments lose their emotional impact. Small changes like new artwork or seasonal plants keep the space engaging.
Explore personalizing relaxation zones for tailored strategies matching your stress patterns.
Common Mistakes and How to Fix Them
Even with good intentions, setup errors undermine relaxation effectiveness. Learn from common failures to avoid wasting time and money.
-
Choosing spaces under 50 sq ft: Cramped areas increase anxiety instead of reducing it. Fix by reallocating larger rooms or combining adjacent spaces to meet minimum size requirements.
-
Using non-ergonomic furniture: Standard chairs cause discomfort within 20 minutes, cutting sessions short. 35% of users cite uncomfortable furniture as main relaxation failures. Fix by investing in supportive, adjustable seating designed for extended use.
-
Sensory overload from multiple inputs: Running bright lights, loud sounds, and strong scents simultaneously overwhelms the nervous system. Fix by limiting sensory elements to one primary and one subtle secondary input per session.
-
Electrical safety negligence: Using uncertified devices or overloading outlets creates fire risks. Fix by verifying all equipment meets safety standards and distributing electrical load across multiple circuits.
-
Poor lighting choices: Harsh overhead lights or blue-toned LEDs signal alertness and raise cortisol. Fix by installing warm, dimmable fixtures positioned to avoid glare.
-
Ignoring noise intrusion: Traffic, appliances, or household activity breaks focus. Fix by adding sound masking, repositioning furniture away from noise sources, or using acoustic panels.
Review comfort tips to fix mistakes for corrective strategies. Study common relaxation zone mistakes to understand failure patterns.
Expected Results and Measurement
Realistic expectations keep you motivated. Understanding timelines and metrics helps you track progress objectively.
Expect to see about 20-25% reduction in self-reported stress within 14 days of consistent daily use. This assumes 30-minute sessions in a properly designed zone.
Relaxation session duration can increase by up to 40% due to ergonomic furniture and optimized sensory environments. Longer sessions compound benefits as your nervous system fully shifts into rest mode.
Measurement options:
- Self-assessment questionnaires tracking mood and stress perception weekly
- Biofeedback devices monitoring heart rate variability and cortisol proxies
- Sleep quality logs noting changes in rest patterns
- Physical tension assessments focusing on jaw, shoulders, and neck
Improved mood and reduced anxiety are additional positive outcomes beyond pure stress reduction. Many users report better focus and emotional regulation after two weeks.
| Timeframe | Expected Improvements |
|---|---|
| 1 Week | 10-12% stress reduction, increased comfort duration |
| 2 Weeks | 20-25% stress reduction, noticeable mood improvement |
| 1 Month | 30-35% stress reduction, sustained behavioral changes |
Consistency matters more than session length. Daily 30-minute use beats sporadic 90-minute sessions. Your nervous system learns to relax faster with regular practice.
Explore benefits of home wellness for broader health impacts. Review our relaxation techniques guide to maximize zone effectiveness. Check the stress reduction timeline study for detailed research findings.
Explore Lunix Wellness Products to Enhance Your Relaxation Zone
You’ve learned the fundamentals of creating an effective relaxation zone. Now consider products specifically designed to amplify these benefits.

Lunix offers ergonomic furniture and wellness devices engineered for maximum comfort and stress relief. Our products integrate seamlessly into relaxation zones, enhancing the sensory and physical elements you’ve just designed.
Explore current prime day wellness deals for significant savings on products supporting stress relief and recovery. Our recovery collections feature items tailored for comfort and faster relaxation benefits.
Discover 7 key advantages of home wellness to understand how integrating specialized products maximizes your relaxation zone impact. Lunix transforms ordinary spaces into personalized stations for restoration and long-term health.
Frequently Asked Questions
What is the minimum time per day to use a relaxation zone for benefits?
Use your zone for at least 30 minutes daily to see measurable stress reduction within two weeks. Shorter sessions provide temporary relief but don’t allow your nervous system to fully shift into rest mode for lasting benefits.
Can I create a relaxation zone in a small apartment effectively?
Yes, as long as you dedicate at least 50 square feet of private space. Use vertical storage to reduce floor clutter and choose compact ergonomic furniture designed for small spaces without sacrificing support.
Are biofeedback devices necessary or just optional for personalization?
Biofeedback devices are optional enhancements, not requirements. They provide objective stress measurements that help you refine your zone setup, but self-assessment and body awareness work effectively for most people. Review personalized relaxation guide for measurement alternatives.
How often should I update or change my relaxation zone setup?
Refresh décor and sensory elements every 2-3 months to maintain emotional engagement. Small changes like new artwork, seasonal plants, or different ambient sounds prevent the space from feeling stale and keep you motivated for daily use.
Recommended
- Stress Relief Guide 2026: Master Effective Daily Relaxation – Lunix
- Why Prioritize Relaxation: 30% Cortisol Drop Boosts Health – Lunix
- Step by Step Relaxation Techniques for Stress Relief – Lunix
- Personalized Relaxation Guide for Stress Relief Success – Lunix
- Overcoming Dental Anxiety: Tips for a Stress-Free Visit
- Relaxamento e as técnicas mais eficazes | IPYM