

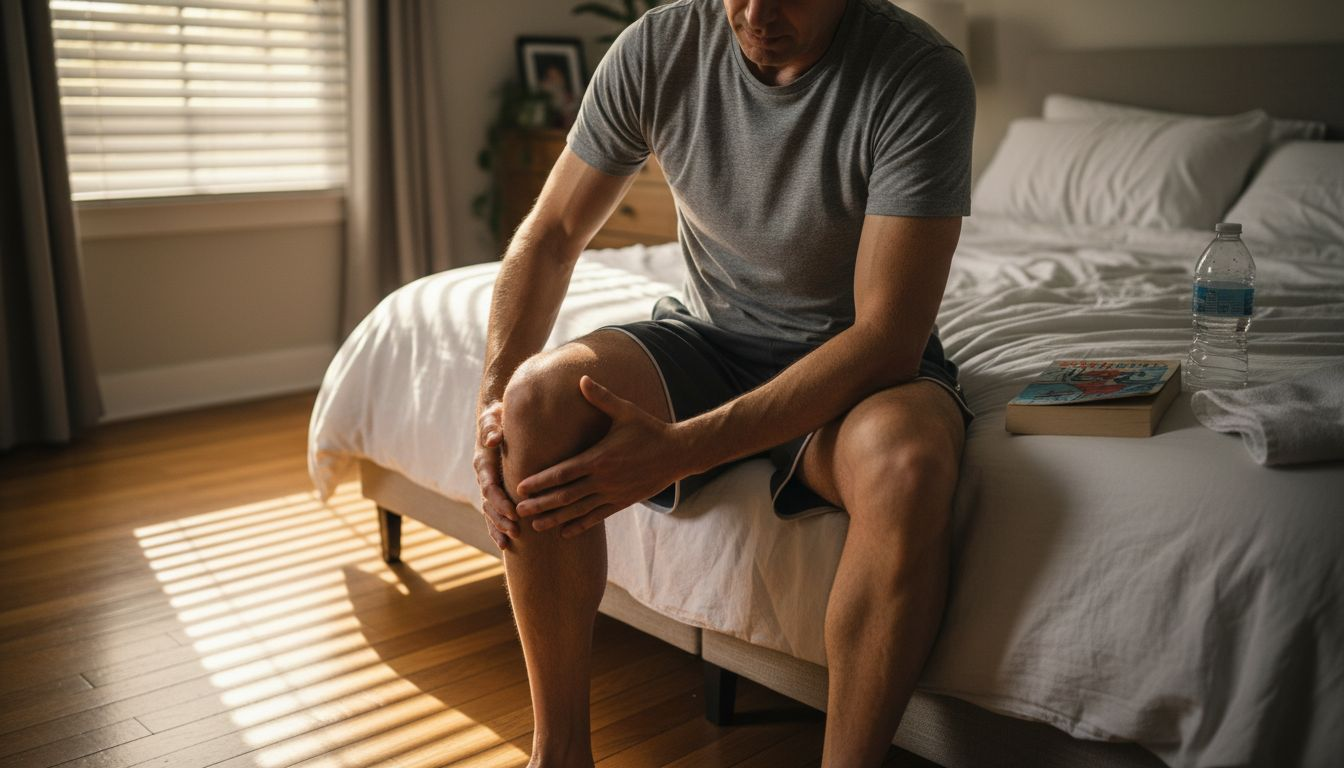
Long workdays and daily responsibilities can leave your muscles feeling sore and your mind overwhelmed. For many American adults, carving out moments to relax is challenging, but creating a peaceful massage space at home can make a difference in how you recover from stress. This guide shows you how to set up your environment, choose the right equipment, and take the first step toward more effective self-massage for lasting relief.
Table of Contents
- Step 1: Prepare Your Space And Gather Needed Tools
- Step 2: Select Target Areas For Focused Massage
- Step 3: Apply Effective Self-Massage Techniques
- Step 4: Monitor Comfort And Adjust Pressure
- Step 5: Reassess Muscle Relaxation And Recovery
Quick Summary
| Key Point | Explanation |
|---|---|
| 1. Create a Comfortable Space | Design a quiet and peaceful area with a firm surface and soft lighting to enhance relaxation. |
| 2. Identify Tension Areas | Focus on specific muscle groups that often hold stress, such as neck, shoulders, and back. |
| 3. Use Effective Massage Techniques | Apply techniques like kneading and trigger point therapy to target and relieve tight muscles. |
| 4. Monitor Comfort Levels | Adjust pressure based on comfort indicators, ensuring the massage is supportive and pain-free. |
| 5. Reassess After Massage | Evaluate muscle relaxation and recovery using indicators like pain levels and range of motion. |
Step 1: Prepare your space and gather needed tools
Creating the right environment is crucial for an effective self-massage session. Your goal is to design a comfortable, peaceful space that allows you to relax and focus on releasing muscle tension.
Start by selecting a quiet area in your home where you won’t be interrupted. Professional massage guidelines recommend a warm, well-ventilated room with soft lighting. Consider these key elements for your massage setup:
- A firm, flat surface like a massage table, yoga mat, or clean floor with a thick blanket
- Comfortable clothing that allows unrestricted movement
- Soft towels or blankets for added warmth and comfort
- Massage oil or lotion
- Optional tools like tennis balls, foam rollers, or massage balls
Choose a space that makes you feel calm and supports complete relaxation.
Prepare your tools within easy reach before starting. Arrange everything so you can smoothly transition between different massage techniques without disrupting your flow.
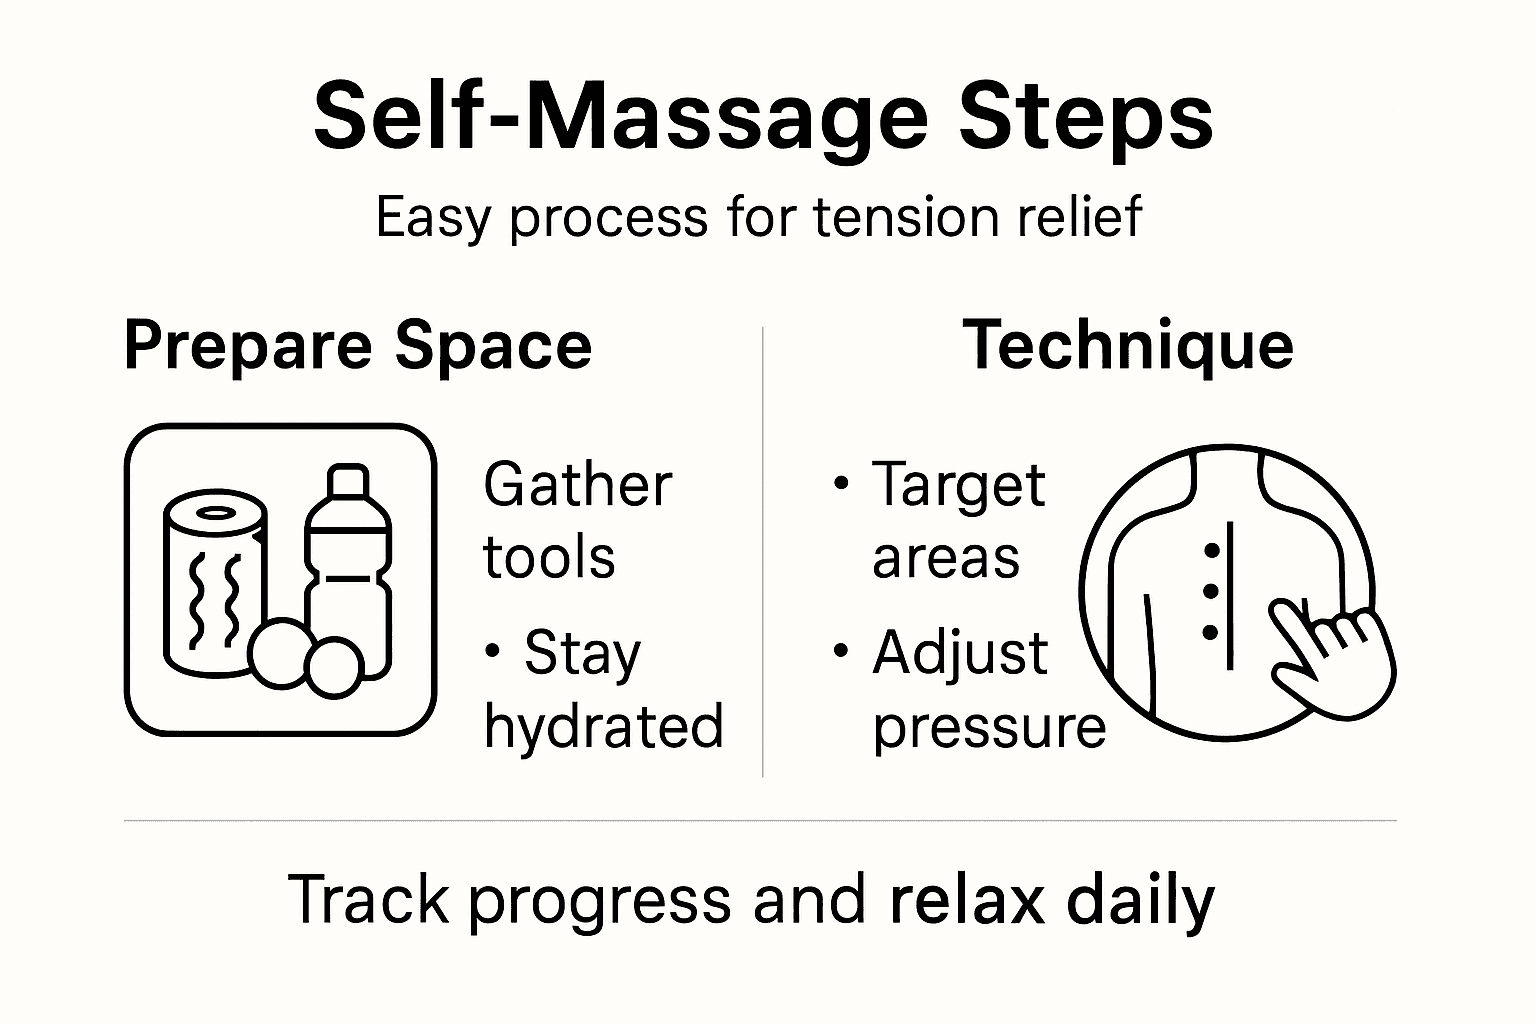
Pro tip: Keep a small glass of water nearby to stay hydrated during and after your self-massage session.
Step 2: Select target areas for focused massage
Understanding which muscle groups need attention is crucial for an effective self-massage session. Your goal is to identify and target specific areas of tension and discomfort that can benefit from focused therapeutic techniques.
Massage experts recommend focusing on muscle groups most prone to stress and tension. These typically include:
- Neck and shoulders: Where stress and poor posture accumulate
- Lower and upper back: Common sites of muscle tightness
- Feet: Pressure points that can relieve full-body tension
- Forearms and hands: Areas that experience strain from repetitive work
- Calves and hamstrings: Muscles that carry tension from physical activity
Pay close attention to areas where you consistently feel stiffness or discomfort.
Carefully assess your body’s unique tension patterns. Self-care techniques like lymphatic drainage can help you identify and target specific muscle groups that need extra attention.
Start by gently probing these areas to understand your body’s specific tension points. Notice which muscles feel tight or tender when you apply light pressure.
Pro tip: Consider keeping a body tension journal to track which areas consistently need more massage attention and help you develop a personalized self-massage routine.
Step 3: Apply effective self-massage techniques
Now that you’ve identified your tension areas, it’s time to apply targeted massage techniques that will help release muscle tightness and promote relaxation. Learning the right approach can transform your self-massage from a simple rubdown to a therapeutic healing experience.
Self-massage experts recommend specific techniques that can effectively address different muscle groups:
Here is a comparison of common self-massage techniques and their most effective target areas:
| Massage Technique | Best Target Area | Common Benefit |
|---|---|---|
| Kneading | Neck, shoulders | Relieves deep muscle tension |
| Trigger point therapy | Upper back, calves | Reduces muscle knots |
| Circular rubbing | Forearms, hands | Improves circulation |
| Compression | Lower back, hamstrings | Releases persistent tightness |
| Rolling | Feet, calves | Enhances muscle flexibility |
- Kneading: Deep, rhythmic pressure using palms and fingers
- Circular rubbing: Gentle circular motions to release surface tension
- Trigger point therapy: Focused pressure on specific knots and tight spots
- Rolling: Using hands or tools to stretch and smooth muscle fibers
- Compression: Steady, sustained pressure to release deeper muscle tension
Gentle, consistent pressure is more effective than aggressive manipulation.
When applying these techniques, manual manipulation can significantly improve circulation and muscle recovery. Start with light pressure and gradually increase intensity based on your comfort level. Pay attention to how your body responds and adjust your technique accordingly.
Move slowly and breathe deeply, allowing your muscles to relax and respond to the massage. Use your body weight to apply pressure rather than just your hand strength, which helps prevent fatigue and provides more consistent treatment.
Pro tip: Warm your hands before starting and use a small amount of massage oil to reduce friction and enhance the smoothness of your movements.
Step 4: Monitor comfort and adjust pressure
Self-massage is an intuitive process that requires constant communication between your hands and your body. Your primary goal is to create a healing experience that feels comfortable and therapeutic without causing additional strain or discomfort.
Professional guides emphasize listening closely to your body’s signals during massage. Pay attention to these key comfort indicators:
- Tension level: Notice areas of tightness or sensitivity
- Pain threshold: Distinguish between good pressure and potential injury- Muscle response: Track how muscles react to different pressures
- Breathing pattern: Use breath as a guide for comfort
- Overall sensation: Ensure the massage feels supportive, not painful
Pain is never a sign of effective massage - it’s a warning signal to stop and reassess.
Mindful awareness helps balance massage intensity by allowing you to make real-time adjustments. Start with light pressure and gradually increase intensity. If you feel sharp pain or extreme discomfort, immediately reduce pressure or stop the technique.
Remember that each massage session is unique. Your body’s needs will change daily, so remain flexible and responsive to what you’re experiencing in the moment.
Pro tip: Use a pain scale of 1-10 to objectively track your comfort level, with 5-6 representing a productive massage pressure.
Step 5: Reassess muscle relaxation and recovery
After completing your self-massage session, take a moment to evaluate your body’s response and track the effectiveness of your techniques. Understanding how your muscles feel and move can help you refine future massage approaches and support long-term muscle health.
Experts recommend checking muscle tension through several key assessment methods:
This summary helps you track muscle recovery indicators after self-massage:
| Recovery Indicator | What to Check | Sign of Progress |
|---|---|---|
| Range of motion | Joint flexibility | Increased movement |
| Pain levels | Discomfort in muscles | Reduced soreness |
| Muscle softness | Muscle texture by touch | Less stiffness |
| Energy levels | Overall alertness | Feeling more refreshed |
| Mobility | Ease of everyday movement | Smoother, less restricted motions |
- Range of motion: Test flexibility and movement in massaged areas
- Pain levels: Note any reduction in discomfort or stiffness
- Muscle softness: Feel for decreased tension and improved muscle texture
- Energy levels: Observe overall sense of relaxation and well-being
- Mobility: Check if movement feels smoother or less restricted
Your body’s feedback is the most important indicator of massage effectiveness.
Tracking muscle recovery strategies helps you understand your body’s unique healing patterns. Incorporate gentle stretching and stay hydrated to support muscle recovery and maintain the benefits of your massage.
Remember that muscle relaxation is a progressive process. Some days you’ll feel more tension than others, so remain patient and consistent with your self-care routine.
Pro tip: Keep a brief massage journal to document your body’s responses and track improvements over time.
Elevate Your Self-Massage Routine with Lunix Wellness Solutions
The challenge of creating a quiet, comfortable space and mastering effective self-massage techniques to relieve muscle tension is real. If you find yourself struggling with tightness in your neck, shoulders, or back, or seeking ways to enhance relaxation and recovery, Lunix offers carefully designed products that bring smart recovery right to your home. By integrating tools that support gentle, targeted massage and comfort, you can transform your self-care into a daily ritual that truly restores your body and mind.

Explore our Relaxation – Lunix collection for premium solutions that help you ease muscle tightness and promote deeper relaxation. Whether you want portable comfort for targeting hard-to-reach areas or innovative designs to reduce muscle soreness and improve circulation, Lunix provides wellness solutions built for elevated living. Visit Lunix today and take the first step toward creating your personalized station for relaxation, restoration, and long-term health. Start nurturing your recovery now for a more refreshed and flexible tomorrow.
Frequently Asked Questions
What tools do I need for a self-massage session at home?
To perform an effective self-massage at home, gather tools like a firm surface, comfortable clothing, soft towels, massage oil, and optional items like tennis balls or foam rollers. Arrange these tools within easy reach to maintain a smooth flow throughout your session.
How do I choose the right areas to focus on during self-massage?
Identify specific muscle groups that need attention, such as the neck, shoulders, back, feet, or hands. Pay special attention to areas where you consistently feel stiffness or discomfort, and start by probing these areas gently.
What techniques should I use for self-massage?
Utilize techniques like kneading for deep muscle tension, circular rubbing for circulation, and trigger point therapy for specific knots. Focus on applying light pressure initially, and adjust based on your comfort and muscle response to enhance relaxation.
How can I tell if I’m applying the right amount of pressure during self-massage?
Listen to your body and adjust pressure based on your pain threshold and muscle response. Aim for a pressure level that feels productive but not painful; if you feel sharp pain, immediately reduce pressure or change the technique.
What should I do after completing my self-massage session?
After your session, reassess your muscle relaxation by checking indicators such as range of motion and pain levels. Document your body’s feedback to refine your self-massage practices and track improvements over time, ensuring continuous muscle health.
How often should I perform self-massage to relieve tension?
Aim to perform self-massage regularly, ideally a few times a week, to effectively manage muscle tension. Consistent practice can lead to noticeable improvements in muscle relaxation within just a few sessions.